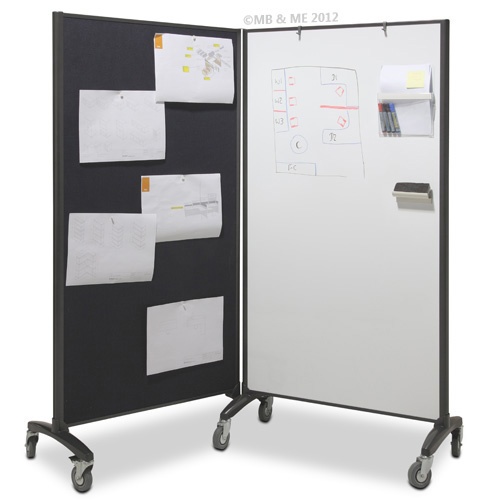
How to Install a Whiteboard or Pinboard on a wall
Installing a whiteboard or pinboard is straightforward with the right preparation. Follow the instructions below based on the frame style of your board.
Before You Begin
✔ Check that your board will fit the available wall space.
✔ Ensure there are no electrical wires, plumbing pipes, or other services behind the wall before drilling.
✔ Where possible, fix into wall studs for maximum strength, particularly when installing larger boards.
✔ We recommend a two-person installation for larger boards.
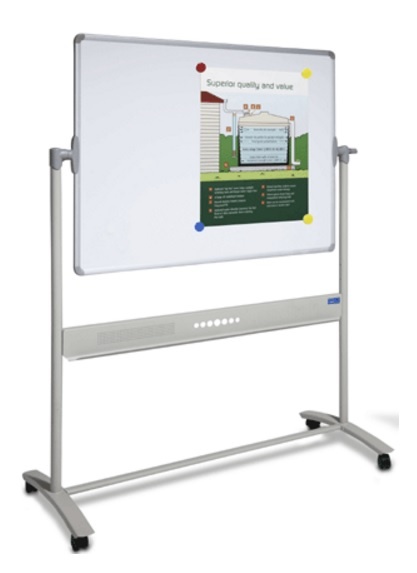
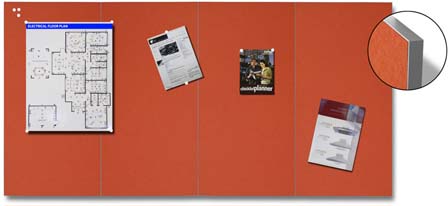
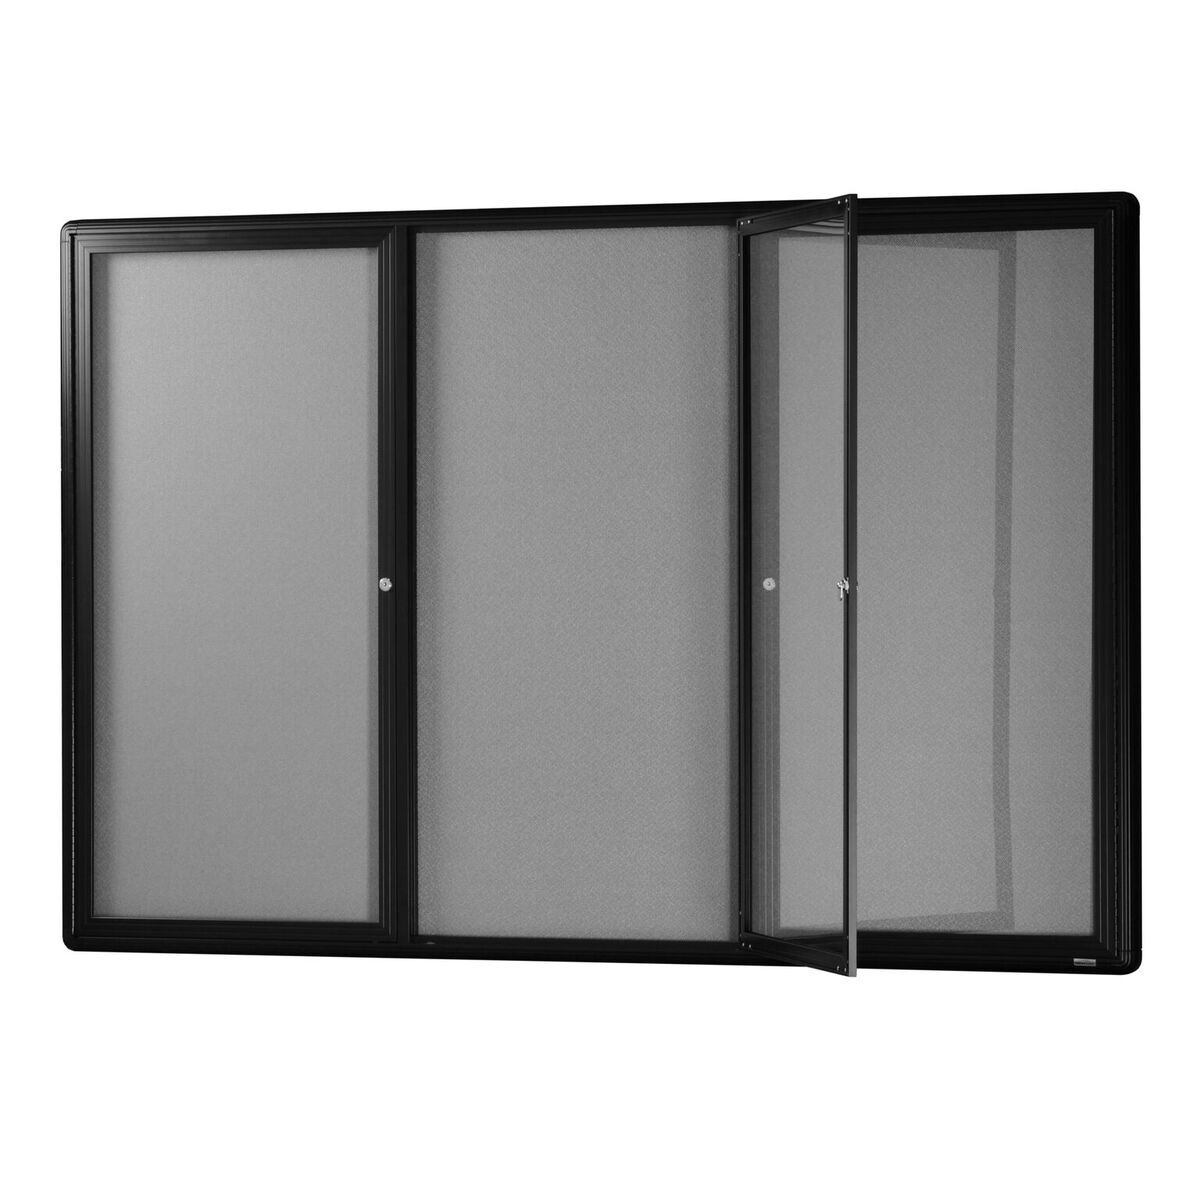
Installing a Standard Framed Whiteboard or Pinboard
Step 1: Mark the Position
Using a tape measure and level, mark the desired location of the board on the wall with a pencil.
- Mark the top, bottom, and side positions of the board.
- Hold the board in position and ensure it is level.
Step 2: Mark the Fixing Points
Remove the corner caps from the frame and mark the screw hole positions onto the wall.
Step 3: Drill the Holes
Drill the required holes and insert the supplied wall plugs.
Step 4: Mount the Board
Position the board against the wall and secure it using the supplied screws through the frame fixing points.
Step 5: Replace Corner Caps
Once the board is securely fixed, replace the corner caps to conceal the screws for a clean, professional finish.
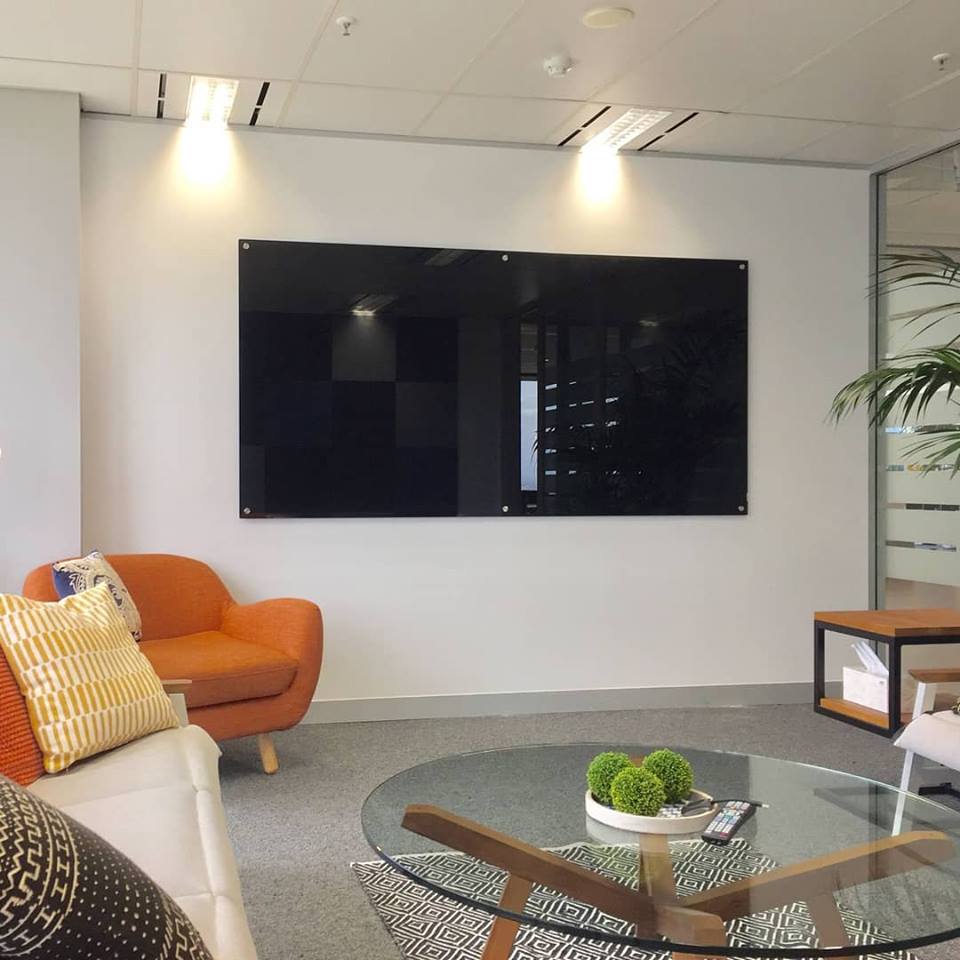
Installing an LX Edge Whiteboard or Pinboard
LX Edge boards use a concealed split batten mounting system for a modern, seamless installation.
Step 1: Install the Wall Batten
- Position the mounting batten on the wall and mark the first fixing point.
- Drill the hole and insert a wall plug if required.
- Secure the first screw loosely.
- Use a level to align the batten and mark the remaining fixing points.
- Drill, plug, and securely fasten the batten to the wall.
Step 2: Test Fit the Board
Lift the board onto the mounting batten and check that it sits level and flush against the wall.
A small gap of up to 2mm between the board and wall is acceptable.
Step 3: Secure the Board
Once satisfied with the position:
- Ensure the board is fully seated on the mounting batten.
- Carefully pull the lower edge of the board away from the wall.
- Remove the backing from the double-sided adhesive tape.
- Press the board firmly back against the wall to create a secure bond.
Helpful Installation Tips
- A second person is strongly recommended when lifting and positioning larger boards.
- If wall studs are unavailable, suitable plasterboard anchors or wall mates can be purchased from most hardware stores.
- Always use fixings appropriate for your wall type.
- Double-check all measurements before drilling.
With proper installation, your whiteboard or pinboard will provide years of reliable performance in offices, classrooms, meeting rooms, and collaborative spaces.